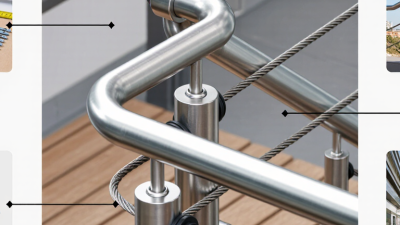
How to Install Steel Cable Railing?
Steel cable railing creates a clear view while adding a defined edge to a deck, balcony, or staircase. Its slim horizontal cables can look simple, but a reliable installation depends on sound posts, accurate drilling, and evenly tensioned runs. The work begins with checking the frame and choosing compatible posts, cables, fittings, and tools. A strong finish starts underneath.
Before drilling, measure each section and mark cable locations carefully. Confirm that the supporting structure can handle the system, and follow the product instructions and applicable local building requirements. Cable spacing and tension matter. A small layout error can make the final lines look uneven or affect performance. Use a drill guide where possible, and protect nearby surfaces from metal shavings.
During installation, route each cable through the planned openings, secure its end fittings, and tighten gradually. Work across the railing in a balanced sequence rather than fully tightening one cable at a time. Then inspect the posts, connections, cable alignment, and top rail. One easy-to-miss detail is how tension can shift as neighboring cables are tightened. Even careful measurements may need a second check. Expect a few adjustments. This guide will walk through preparation, installation, tensioning, and final checks, while noting where product-specific instructions should take priority.
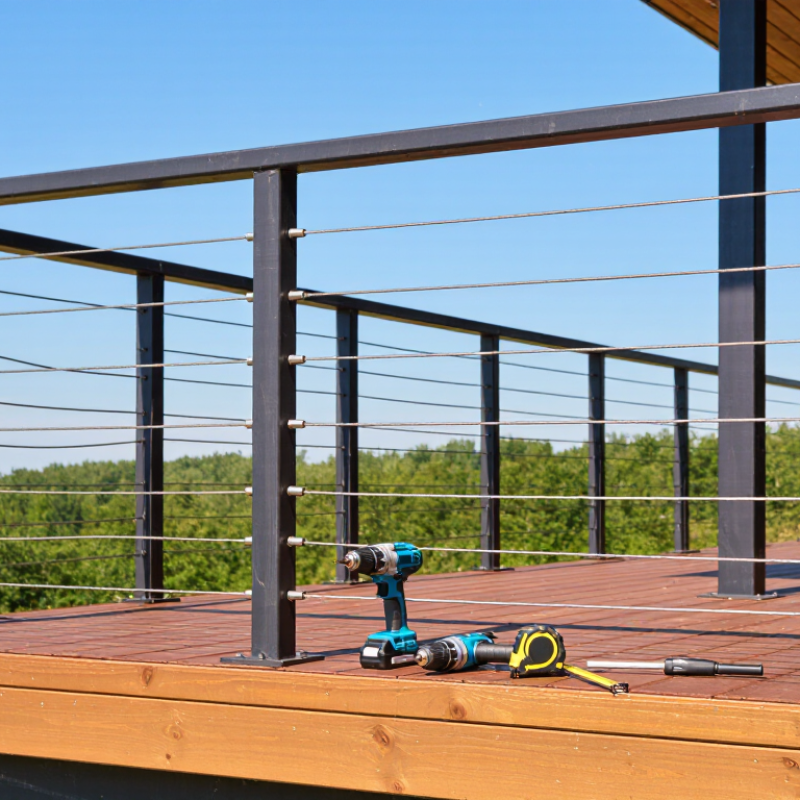
Plan the Railing Layout and Check Local Building Requirements
A clean layout begins with a site sketch, not a cable order. Mark every corner, stair transition, gate, and change in deck elevation. Measure from the finished walking surface, since new decking can alter guard height. Then confirm which code edition your local building department has adopted. The 2021 International Residential Code (IRC), Section R312.1.2, generally requires guards to be at least 36 inches high for one- and two-family homes. It also limits openings so a 4-inch sphere cannot pass through most guard infill. By contrast, the 2021 International Building Code (IBC), Section 1015.3, generally calls for 42-inch guards. Check applicable exceptions and local amendments.
These are not universal measurements. Adoption varies. Before drilling posts, ask the building official about permits, stair rules, required loads, and inspection timing. For cable spacing, consider expected tension and deflection; a gap that looks small on paper may widen in use. The 4-inch sphere test is not a spacing recipe: post locations, cable stretch, and installation tolerances all matter. Record the measurements and code sections you confirm. Keep the sketch. It may save costly rework.
Gather the Required Tools, Materials, and Safety Equipment
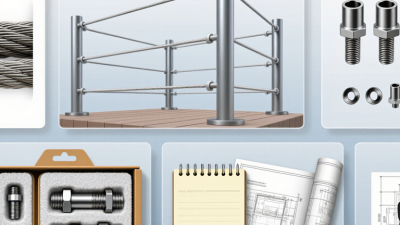
Before ordering materials, measure each run between posts and mark corners, end points, and stair angles on a simple sketch. Gather a tape measure, level, drill with suitable bits, wrenches, cable cutter, and a tension-measuring tool if the system requires one. You will also need compatible posts, cable, end fittings, tensioners, and structural fasteners. Check that every fitting matches the cable diameter. Small mismatches can cause frustrating rework. Wear safety glasses, cut-resistant gloves, and hearing protection when drilling or trimming cable. Keep the work area clear, especially where cable ends may spring or snag.
Use the U.S. Bureau of Labor Statistics’ 2023 Census of Fatal Occupational Injuries as a reminder that this work deserves care: construction recorded 421 fatal injuries involving falls, slips, or trips. Plan stable access before installation, and do not work from an improvised platform. Confirm post anchorage, spacing, and cable requirements against the railing design and applicable local rules before buying hardware; requirements vary by location and application. OSHA’s construction guardrail standard specifies a 42-inch top edge, plus or minus 3 inches, for covered work areas, but that is not a substitute for checking railing-specific requirements. Leave room for adjustment. Cable tension can shift posts slightly, and I would recheck alignment after tensioning rather than assume the first measurement stayed true.
How to Install Steel Cable Railing: Tools, Materials & Safety Equipment
This illustrative checklist includes 6 tools, 5 materials, and 4 items of safety equipment. Check your railing system’s instructions and local building codes before installation.
Checklist: Tools—tape measure, level, drill, cable cutter, wrenches, and cable-tensioning tool. Materials—posts, top rail, stainless-steel cable, end fittings, and fasteners. Safety equipment—safety glasses, work gloves, hearing protection, and sturdy footwear.
Install and Align the Railing Posts and Frame
Set out the railing line before drilling. Measure each post location from a fixed edge, then mark the deck or stair surface clearly. Check the layout against the railing plan, especially at corners and changes in direction. Small errors multiply. Use a level to hold each post plumb, and clamp temporary braces in place while you check the spacing again. Posts should attach to sound structural framing, not just decorative boards. For concrete or other substrates, use the specified anchors and allow any required curing time. The first layout may look right by eye, but a taut string often reveals a slight drift.
With the posts secured, fit the top and bottom frame members without forcing them into place. A forced rail can pull posts out of alignment. Check that the top rail follows a consistent line and that each frame section sits level or at the intended stair angle. Tighten fasteners gradually, alternating between connections where practical, then recheck plumb and spacing. Take your time. Before adding cable, inspect every joint for movement and confirm that cut edges are smooth. It is easy to overlook a small twist at a corner; correct it now, before cable tension makes adjustments harder. Follow the railing system’s installation instructions for connection details and final checks.
Thread the Steel Cables Through the Posts
Thread the Steel Cables Through the Posts
Before threading, confirm the post holes align and have smooth edges. A small burr can scrape cable strands and make later tensioning difficult. Feed each cable through its matching opening, keeping it level and untwisted. For long runs, a helper can guide the free end while you pull steadily. Do not yank. At corners or terminal posts, use the specified fittings; cables should not bend sharply around raw metal edges. I still recheck alignment halfway through a run, because a slight angle can become obvious only after tension is applied.
Install cables in the sequence specified for your railing system, then tension them gradually and evenly. Check the spacing with a ruler as you go. The 2021 International Residential Code, Table R301.5, lists a 200-pound concentrated load for guards and handrails and a 50-pound load for guard infill components. Local adoption and project conditions vary, so treat these figures as a reference—not a substitute for approved plans or the system instructions. Cable tension alone does not prove the assembly meets load requirements.
Tips: Wear cut-resistant gloves, protect cable ends with tape while threading, and keep strands clear of sharp edges. A cable that looks straight may still be too loose. Recheck every line after tightening, and inspect for frayed strands before use.
Tension the Cables and Inspect the Completed Railing
After all cables are threaded through the posts, tension them gradually rather than tightening one cable fully at a time. Work across the railing in a balanced sequence, following the hardware manufacturer’s instructions. This helps reduce uneven loads and keeps posts from leaning inward. Use the specified tensioning tool, and check the cable’s feel and alignment as you go. It should feel firm, not drum-tight. Over-tightening can strain fittings or distort the frame. A small adjustment can make a visible difference.
Tips: Keep a simple checklist. Mark each cable after checking its tension, then inspect the end fittings for secure seating. Wear gloves; cut cable ends can be sharp.
Step back and inspect the completed railing from several angles. Look for sagging lines, loose fittings, sharp cable tails, and posts that shift when gently pressed. Check that spacing remains consistent, including near corners and stair transitions. Run a clean cloth along accessible cable sections to catch burrs or snags. If one cable seems much looser than its neighbors, recheck the tensioning sequence instead of forcing it tighter. I’ve found that rushing this final pass often leaves one small defect behind. Reinspect after the hardware has settled, and correct anything that moves or feels unstable before the railing is used.
How to Install Steel Cable Railing? - Tension the Cables and Inspect the Completed Railing
Sample tension and inspection log for a completed railing section. The 250 lbf nominal setting and 225–275 lbf example range below are illustrative only; follow the specifications for your railing system and local building requirements.
| Step |
Inspection Point |
Method |
Example Measurement or Result |
Check |
| 1. Prepare the run |
Posts and end supports |
Check alignment, fasteners, and visible movement before tensioning. |
Posts are plumb; end supports are secure with no noticeable movement. |
Pass |
| 2. Check cable layout |
Cable spacing |
Measure the vertical spacing between adjacent cable centerlines. |
3 in. spacing across the sample section. |
Pass; verify permitted openings against local code. |
| 3. Tension the cables |
Upper cable |
Adjust gradually with the specified tensioning hardware; measure with a suitable tension gauge. |
246 lbf; example nominal setting: 250 lbf. |
Within the illustrative 225–275 lbf range. |
| 3. Tension the cables |
Middle cable |
Alternate between cables and recheck previously adjusted runs. |
252 lbf; example nominal setting: 250 lbf. |
Within the illustrative 225–275 lbf range. |
| 3. Tension the cables |
Lower cable |
Apply tension in small increments and avoid over-tightening. |
238 lbf; example nominal setting: 250 lbf. |
Within the illustrative 225–275 lbf range. |
| 4. Recheck the run |
Adjacent cable tension |
Measure each cable again after the full run has been tensioned. |
Readings remain within the project’s specified range after adjustment. |
Pass |
| 5. Inspect the finished railing |
Terminations and cable ends |
Inspect fittings for proper seating; confirm cut ends are protected as required. |
No loose fittings, exposed sharp ends, or visible cable damage. |
Pass |
| 5. Inspect the finished railing |
Rail and post stability |
Apply a firm hand check to the top rail and posts; look for looseness or unusual deflection. |
No loose connections or visible movement at the inspected joints. |
Pass |
| 6. Document completion |
Final inspection record |
Record measurements, inspection date, and any adjustments made. |
All cable readings and inspection results logged; follow-up items: none. |
Complete |