Why Is My Toyota Tacoma Side Mirror Not Working?
A faulty Toyota Tacoma Side Mirror can turn a routine lane change into a stressful, dangerous moment. The mirror may stay folded, move slowly, vibrate, lose heat, or remain completely dark. These symptoms often point to different causes, including a blown fuse, damaged wiring, a failed switch, or a worn mirror motor. Guessing can waste time and money.
NHTSA’s Federal Motor Vehicle Safety Standard No. 111 establishes rear-visibility requirements for modern vehicles. It also shows why mirror function is more than a comfort feature. IIHS and HLDI research found that blind-spot monitoring reduced lane-change crashes by about 14 percent. It reduced related injury crashes by approximately 23 percent. These findings do not replace a working mirror. Electronic assistance has limits.
A careful diagnosis begins with the simplest details. Check whether the problem affects one mirror or both. Listen for a faint motor sound when pressing the control. Inspect the fuse, connector, mirror housing, and door wiring near the hinge. A Tacoma that recently suffered a minor impact may hide broken internal gears. Water can also reach the heating or adjustment circuits.
The repair path depends on the symptom. A loose connector may need only cleaning and reseating. A silent motor may require mirror assembly replacement. Do not assume the switch is defective too quickly. That mistake is common. Toyota service information and the vehicle’s owner’s manual should guide testing, especially around power circuits and safety features. When visibility remains limited, avoid driving until the Toyota Tacoma Side Mirror works correctly or receives professional inspection.
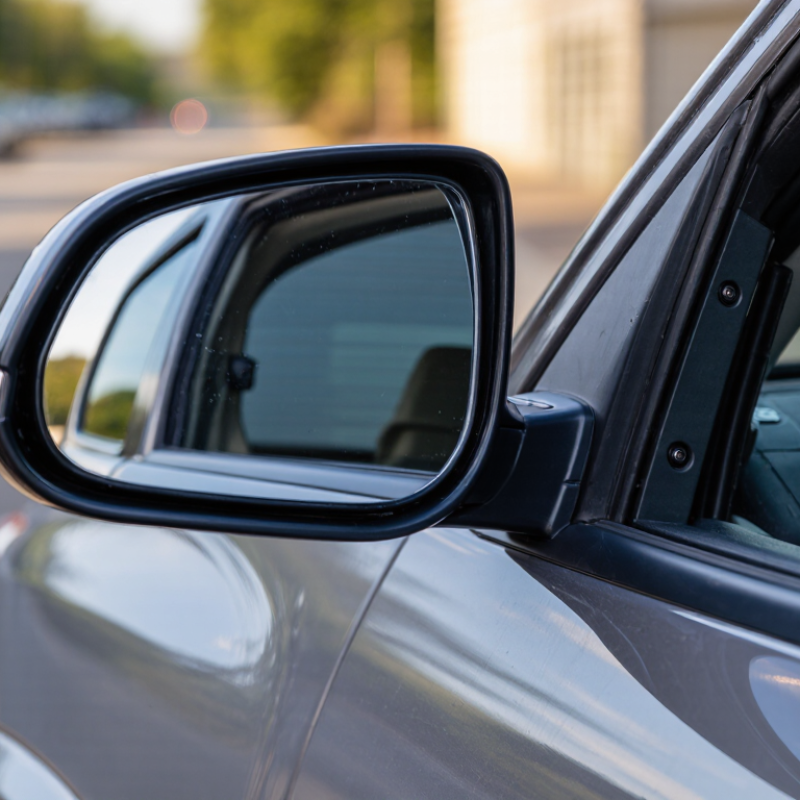
Common Reasons a Toyota Tacoma Side Mirror Stops Working
A powerless side mirror usually points to a blown fuse, failed switch, damaged wiring, or a worn adjustment motor. Check whether one mirror fails or both mirrors fail. One failed mirror suggests a local fault. Both failures may indicate a fuse, relay, or shared control circuit.
Moisture can enter through a cracked housing or loose connector. It may cause slow movement, clicking, or complete silence. A recent impact can also bend the internal gears, even when the mirror glass looks normal. If the mirror moves only in one direction, the switch or motor may have a damaged contact. Do not assume the motor failed too quickly. Electrical testing should come first.
Federal Motor Vehicle Safety Standard No. 111 treats rear visibility as a safety requirement. NHTSA’s 2023 Traffic Safety Facts report recorded 40,901 roadway deaths in the United States, so a restricted view deserves prompt attention. A technician can test fuse continuity, connector voltage, switch output, and motor resistance. I have seen owners replace the entire assembly when a corroded plug caused the problem. That mistake is expensive, and sometimes avoidable. Scratches near the mirror base, green corrosion, or water inside the housing offer useful clues. If power reaches the motor but movement stops, replacement may be justified. If no power arrives, inspect the circuit before ordering parts.
How to Identify the Mirror Problem Safely
Why Is My Pickup’s Side Mirror Not Working?
How to Identify the Mirror Problem Safely
A silent side mirror can have several causes. Park on level ground and switch off the ignition before checking anything. Look for cracked glass, loose housing, or water around the mirror base. Do not force a powered mirror by hand. That can damage its small adjustment gears.
Test each function separately. Does the glass move, but the folding motor stay still? Does the heater work while the turn signal remains dark? Different symptoms often point to different circuits. Press the mirror switch gently and listen for a motor sound. A click without movement may suggest a jammed mechanism. No sound may indicate a fuse, switch, connector, or wiring problem.
Check the vehicle’s fuse guide, not a random online diagram. Replace a fuse only with the same rating. Never bridge the fuse with metal. Use a digital multimeter only if you understand its settings, and avoid probing exposed wires near airbag equipment. Moisture inside the connector is easy to miss.
I once blamed the motor, but a loose plug caused the fault. That mistake changed how I inspect mirrors.
If the mirror failed after a door impact, examine the wiring where the door bends. Wires can break inside intact insulation. A service manual gives safer test points than guesswork. Stop testing if you smell burning, see melted plastic, or find damaged wiring. A qualified technician should handle those signs.
Steps to Check the Fuse, Switch, and Wiring
A dead side mirror is often caused by a simple electrical fault, not a failed motor. Begin with the fuse box and locate the fuse labeled for the mirrors or door circuit. Check the fuse visually, then confirm it with a multimeter. A fuse can look intact while failing electrically. Replace it only with the same amperage rating. Never install a larger fuse.
If the replacement blows again, stop testing. There may be a short in the door wiring. Next, turn the ignition on and test the mirror adjustment switch. Listen for a faint motor sound while moving the control in each direction. No sound may indicate a faulty switch, loose connector, or missing power. Inspect the wiring inside the rubber boot between the door and body. Repeated flexing can break wires under the insulation. I have seen this area overlooked because the damage is rarely visible at first glance. That assumption can waste time.
How to Test and Repair the Mirror Motor
When a side mirror stops moving, test the motor before replacing the complete mirror assembly. Park safely, switch off the ignition, and inspect the fuse, control switch, and wiring connector. Look for bent pins, moisture, or green corrosion. A loose connector can imitate a failed motor.
Remove the mirror glass carefully if access is required. Use a multimeter at the motor connector while moving the control switch. You should see changing voltage in both directions. No voltage usually points to the switch, fuse, wiring, or ground. Correct voltage with no movement suggests a worn or seized motor. Disconnect the motor before applying external power. Then use a fused 12-volt jumper briefly across its terminals. Reverse the wires to test the opposite direction. The motor should run smoothly, without grinding or hesitation. Stop immediately if it becomes hot.
Tips: Photograph the wiring before disconnecting anything. Use plastic trim tools to prevent scratches. Never force the glass by hand. I once blamed a motor, but the real fault was a cracked connector hidden behind the door panel. That mistake taught me to test every connection first. If the motor works during bench testing but fails in the vehicle, inspect the switch signal and ground path again. Some mirrors also include heating or folding circuits, so avoid mixing their terminals. Replace damaged seals to keep rain away.
| Diagnostic Area | What to Check | Test Method | Normal Result | Likely Cause if Abnormal |
|---|---|---|---|---|
| Power supply | Vehicle battery and ignition power | Measure battery voltage with the ignition off, then switch the ignition on and operate the mirror control. | Approximately 12.4–12.7 V with the engine off; charging voltage is commonly about 13.5–14.8 V with the engine running. | Weak battery, poor power feed, ignition-switch issue, or charging-system fault. |
| Fuse and circuit protection | Fuse assigned to the mirror or door-control circuit | Inspect the fuse visually and verify continuity with a multimeter after removing it. | Fuse element is intact and continuity is present. | Blown fuse caused by a short circuit, damaged wiring, or a failing motor. |
| Mirror selector switch | Left/right selection and directional buttons | Select each side and test every directional position. Check switch continuity if needed. | The selected mirror responds consistently in the commanded direction. | Worn switch contacts, contamination, or an internal switch failure. |
| Door-jamb wiring | Wire bundle between the door and vehicle body | Inspect for cracked insulation, broken conductors, loose terminals, or corrosion; gently flex the harness while testing. | No exposed copper, loose pins, or intermittent operation. | A broken or corroded wire can interrupt power or ground to the mirror. |
| Connector condition | Mirror and door-panel electrical connectors | Disconnect the connector with the battery safely isolated; inspect terminals for moisture, oxidation, or pushed-back pins. | Terminals are clean, dry, tight, and properly seated. | High resistance or an open circuit caused by corrosion or poor contact. |
| Voltage at the motor | Power and ground reaching the mirror motor | Back-probe the motor connector while operating the control in one direction. Reverse the meter leads or command the opposite direction as required by the circuit. | A voltage close to battery voltage appears during a valid command; polarity commonly reverses for opposite motor direction. | No voltage suggests a switch, wiring, connector, fuse, or control-module problem. |
| Motor response | Sound and movement from the adjustment motor | Operate the control briefly in all directions and listen for clicking, humming, or grinding. | Smooth movement without prolonged noise, binding, or repeated clicking. | A silent motor with correct voltage may be open or seized; clicking may indicate stripped gears. |
| Mechanical obstruction | Ice, debris, impact damage, or a jammed pivot | Visually inspect the mirror housing and glass movement. Do not force the glass or housing by hand. | The mirror moves freely within its designed adjustment range. | Frozen components, bent mounting parts, damaged gears, or a displaced mirror plate. |
| Ground circuit | Ground path for the motor and control circuit | Perform a voltage-drop test while the motor is commanded. Keep test leads connected directly across the suspected ground path. | Ground-side voltage drop is ideally near 0 V and generally below about 0.2 V under load. | Loose ground connection, corrosion, or damaged wiring. |
| Mirror heater or signal functions | Whether only adjustment is affected or several functions fail | Test heating, turn-signal illumination, or other integrated functions separately, when equipped. | Each function operates independently and consistently. | Multiple failed functions point more strongly to a connector, harness, fuse, or shared ground problem. |
| Repair decision | Component identified as defective | Compare test results before replacing parts; disconnect the negative battery cable when removing electrical components if required by the service procedure. | Repair or replace only the failed component and verify operation afterward. | Unnecessary parts replacement, recurring fuse failure, or damage to wiring and control components. |
When to Replace the Mirror or Seek Professional Help
A non-working side mirror can fail for several reasons. The glass may be cracked, the adjustment motor may be worn, or a fuse may have blown. Check whether the mirror moves, folds, heats, or signals normally. A silent motor suggests a power issue, while a grinding sound often points to damaged gears. Inspect the connector inside the door for moisture or loose pins.
I once replaced a mirror too quickly and later found a corroded connector caused the problem. That mistake cost extra time. Remove the door panel only if you understand its clips and wiring. Use a multimeter to test power at the connector, and compare the reading with the vehicle’s service specifications. Do not pull wires by force.
Replace the mirror when its housing is cracked, the glass will not stay secure, or the internal motor has failed. A complete assembly is often safer than repairing hidden parts. Seek professional help when wiring, heated glass, folding functions, or camera equipment is involved. Some systems require calibration after replacement. That step is easy to overlook. If the mirror moves unpredictably or stops after rain, professional diagnosis is sensible. A temporary adjustment may restore visibility, but it does not repair the underlying fault. Keep the mirror properly positioned before driving.
Why Is My Pickup Side Mirror Not Working?
Use the symptom-based decision guide below to determine whether a mirror component should be replaced or whether professional electrical diagnosis is advisable.
How to read this chart: A damaged glass or broken housing usually points to replacement. A silent motor, intermittent operation, or loss of multiple electrical functions can indicate a fuse, wiring, switch, or connector problem and may require professional testing before replacing the mirror.