How to Install SS Cable Railing for Your Home?
In recent years, "ss cable railing" has become a popular choice for modern homes. John Smith, a renowned expert in railing systems, emphasizes, "The beauty of ss cable railing lies in its seamless blend of safety and style." It offers a clear view while ensuring security.
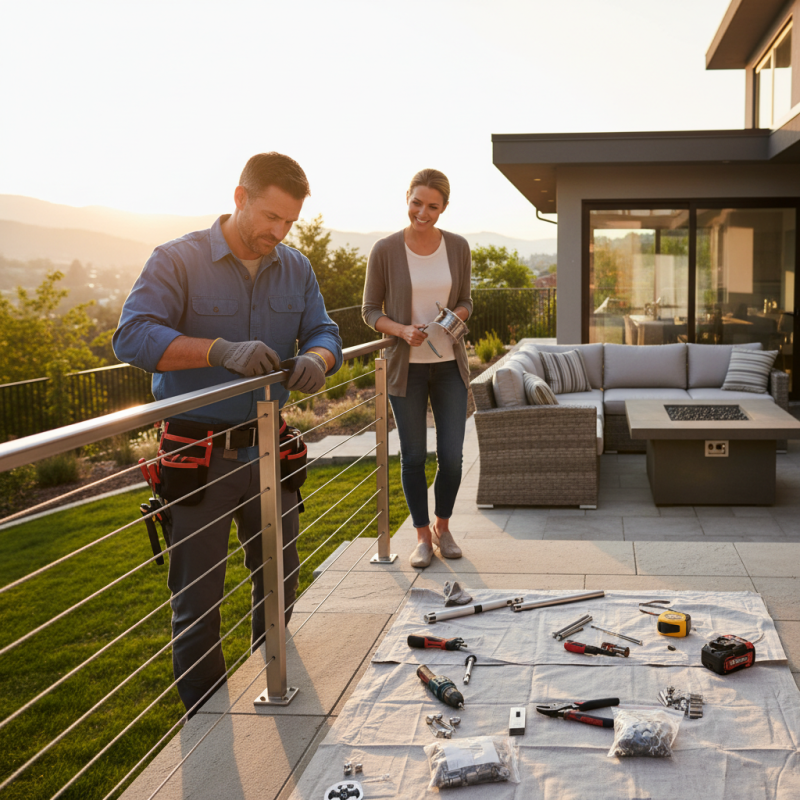
Installing ss cable railing can be a rewarding but challenging task. You will need the right tools and materials to achieve a professional finish. Many homeowners find themselves overwhelmed by the options available and the steps involved.
While some may opt for hiring a professional, many take on the challenge themselves. This decision can lead to both successes and failures. Recognizing the common pitfalls can save time. With careful planning and attention to detail, the installation process can be straightforward. It's a journey worth embarking on—just be ready for some trial and error.
Understanding the Basics of SS Cable Railing Installation
Installing SS cable railing in your home can enhance both safety and aesthetics. Before starting, gather all your materials. You'll need stainless steel cables, posts, tensioning devices, and tools like a drill and wrenches. Ensure you follow local building codes. Measure your railing space carefully. Incorrect measurements can lead to frustration.
When installing, attach the posts securely to the ground or wall. Ensure they are level and evenly spaced. This step is crucial for the overall stability of the railing. As you run the cables through the posts, remember that tension is key. You want to avoid a saggy look. Tighten the cables gradually. It’s easy to over-tighten, which might damage the components or the posts.
Take your time during the process. It’s okay to revisit your work. Mistakes can happen; maybe a post isn’t flush, or a cable isn’t taut enough. In the end, a well-installed SS cable railing can be a stunning feature in your home. Celebrate your efforts, but also reflect on the lessons learned through the installation process.
SS Cable Railing Installation - Materials Used
Gathering Necessary Tools and Materials for Your Project
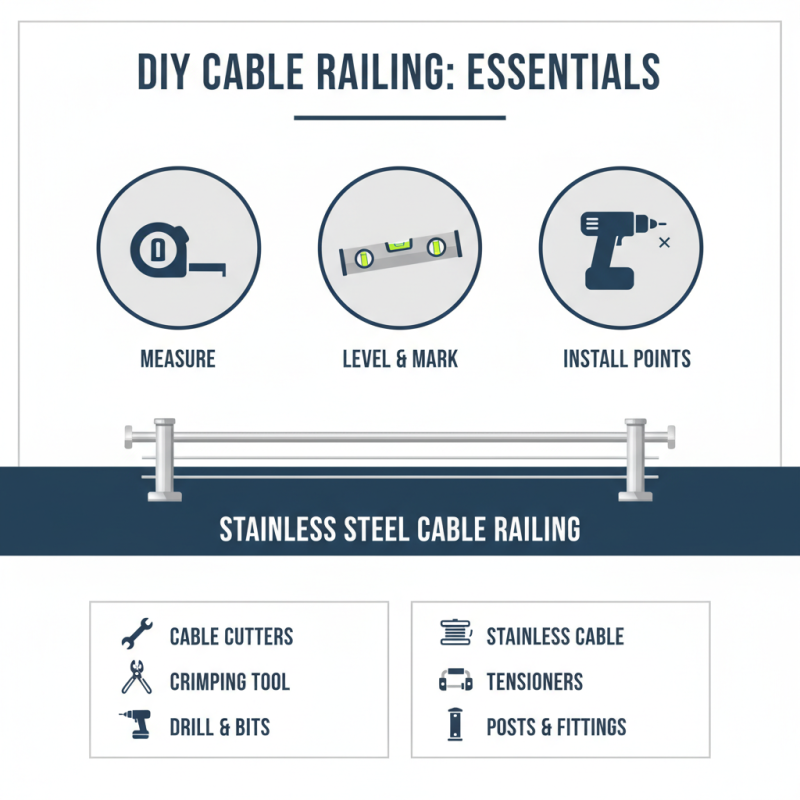
When planning to install stainless steel cable railing, gathering the right tools and materials is essential. You'll need a few items to get started. A tape measure is crucial for accurate measurements. Mark your installation points clearly. A level will ensure your railing is straight. Doing this step carefully is vital. A minor mistake can lead to uneven installation.
Next, consider the cables themselves. Stainless steel cables come in various diameters. Choose the size that best fits your project requirements. Don't forget the railing posts. They should be sturdy enough to support the cables. You might also need tensioning kits for the cables. These kits will help you secure the cables properly. It’s worth checking your local hardware store for additional supplies.
Lastly, gather tools like a drill, wrench, and saw. If you’re uncomfortable using power tools, reconsider. Safety should always come first. Watch some instructional videos for guidance. You may find areas you didn’t anticipate needing adjustments. Take your time and plan carefully to avoid frustration later on.
Step-by-Step Guide to Installing Cable Railing Post Supports
Installing cable railing can enhance your home’s design and offer safety without obstructing views. Before you begin, ensure that you have all the necessary materials and tools. Proper planning is crucial. Measure your space accurately to determine post spacing. It is common to make mistakes here. Double-check your measurements to avoid issues later.
Set up post supports by securing them into the ground or base of your deck. Make sure they are plumb and stable. Use a level to verify their positioning. This step can be tricky. If your posts are uneven, the entire cable railing may not align properly. Take your time to adjust the placements until they are just right.
Once the posts are secured, it’s time to install the cable. Thread each cable through the posts, ensuring they are tightly secured. Pay attention to the tension. Loose cables can feel unsafe. It is important to test the stability of each section before completing the installation. If you notice any sagging, revisit the tension on your cables.
How to Install SS Cable Railing for Your Home? - Step-by-Step Guide to Installing Cable Railing Post Supports
| Step Number |
Description |
Materials Required |
Estimated Time |
| 1 |
Measure and mark the positions for the posts |
Measuring tape, marker |
30 minutes |
| 2 |
Install the post supports into the ground |
Post supports, concrete |
1 hour |
| 3 |
Attach the cable railing system to the posts |
Cable railing kit, Allen wrench |
2 hours |
| 4 |
Tension the cables for proper stability |
Tensioning tool |
30 minutes |
| 5 |
Inspect the entire installation for safety |
Safety gear, checklist |
20 minutes |
Techniques for Properly Tensioning and Adjusting Cable Railing
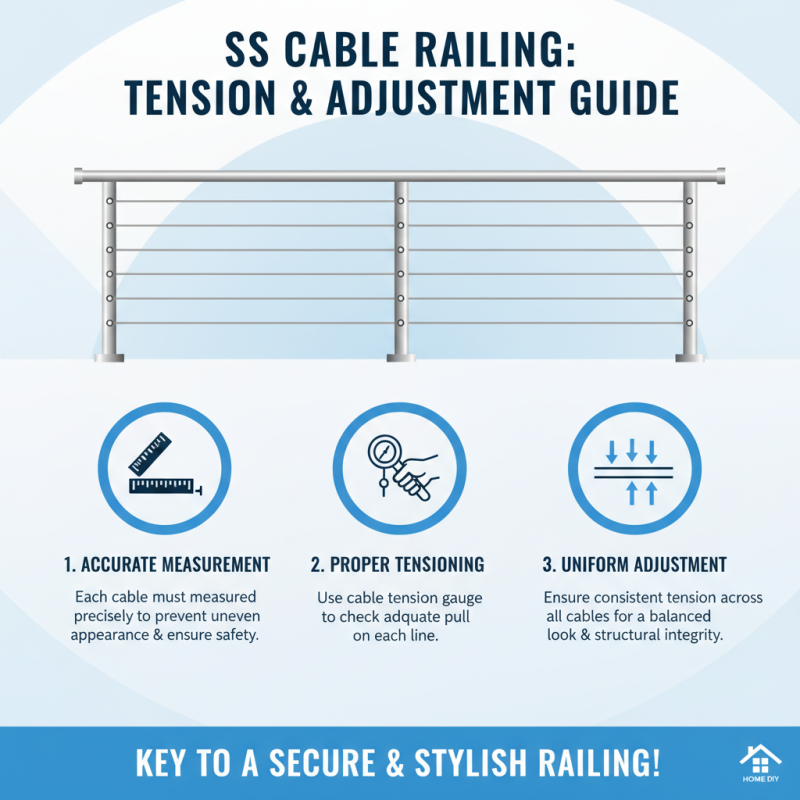
Installing SS cable railing can greatly enhance your home's appearance. However, the key to a successful installation lies in proper tensioning and adjustment. Start by ensuring each cable is measured accurately. A miscalculation can lead to an uneven look and compromised safety. Use a cable tension gauge to check that each line is pulled adequately.
Adjusting the cables can be a challenge. After installation, recheck the tension. Cables might stretch over time, which can create loose areas or sagging. If they are not tight enough, they are ineffective. Conversely, over-tensioning can cause unnecessary stress on the posts. After adjusting, take a step back and inspect the entire railing. Look for areas that may need further tweaking.
It's essential to remember that the aesthetic and strength of the cable railing relies heavily on these adjustments. It might take a couple of tries to get it just right. Stay patient and focus on perfecting each segment. A little extra effort will be worth the enhanced look of your home.
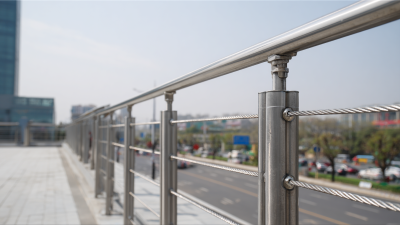
Finishing Touches: Ensuring Safety and Aesthetic Appeal in Installation
When installing SS cable railing, safety and aesthetic appeal are of utmost importance. A well-installed railing not only enhances the beauty of your home but also plays a crucial role in preventing accidents. According to recent industry reports, properties with properly maintained railings can reduce fall hazards by up to 50%. This stark statistic emphasizes the need for careful attention during installation.
One common oversight during installation is the spacing of cables. Cables should be no more than 3 inches apart to comply with safety standards. Ensuring this distance can prevent small children and pets from slipping through. Neglecting this detail might compromise both safety and elegance. Choosing a high-quality stainless steel can also enhance the railing's lifespan and appearance; however, not all stainless steel is equal. Using inferior materials could lead to rust and degradation over time.
Moreover, the finishing touches are essential for a polished look. This includes properly securing cable ends with durable fittings and ensuring that the posts are straight and sturdy. In fact, industry experts suggest that the application of a protective coating can increase resilience by 30%. However, this step is often overlooked, leading to potential long-term issues. These details can make a significant difference in the overall impression of your space, blending safety seamlessly with style.