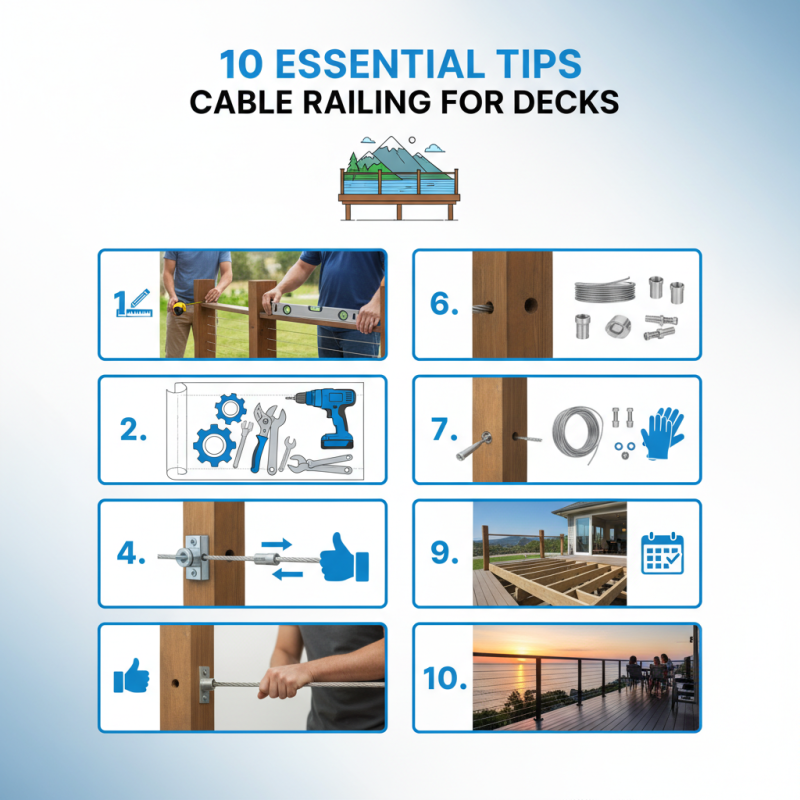
10 Essential Tips for Installing Cable Railing for Decks
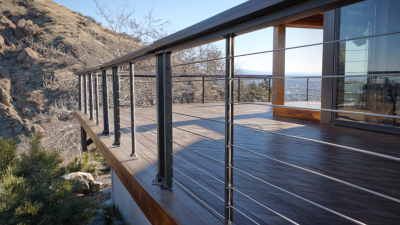
When it comes to "cable railing for decks," proper installation is crucial for both safety and aesthetics. David Miller, a leading expert in outdoor design, once said, "A well-installed cable railing transforms a deck into a stunning space." Understanding how to install cable railing correctly can make a significant difference in your outdoor area.
Imagine a deck overlooking a picturesque view, but with a poorly installed railing. It could ruin the whole experience. Many newcomers struggle with measurements and alignment. Mistakes can lead to unstable railings that compromise safety. Attention to detail is essential.
Choosing the right materials and tools can be overwhelming. However, any misstep can lead to costly repairs. Learning from others' experiences can save time and money. With the right tips in hand, you can achieve a sleek and secure cable railing. Your dream deck awaits.
Choosing the Right Materials for Cable Railing Systems
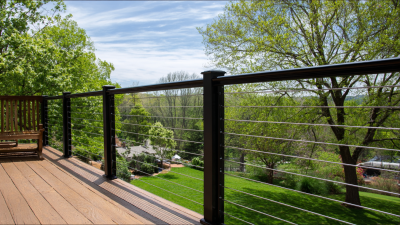
Choosing the right materials for a cable railing system is crucial for both safety and aesthetics. Stainless steel cables are a popular choice due to their strength and corrosion resistance. According to a recent industry report, stainless steel railings can last over 30 years with proper maintenance. This can lead to significant savings over time. However, some might overlook the importance of regular inspections. Cables can wear out or suffer from environmental damage over time.
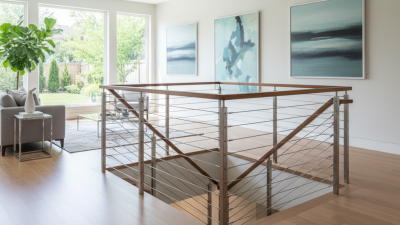
When considering wooden posts, species like cedar and redwood are excellent for their natural decay resistance. Yet, wood is susceptible to weather conditions. It may require additional treatments to maintain its look and structural integrity. Be mindful of local climates when selecting materials. In some areas, composite materials offer another durable option. These are designed to withstand harsh weather but can be pricier upfront.
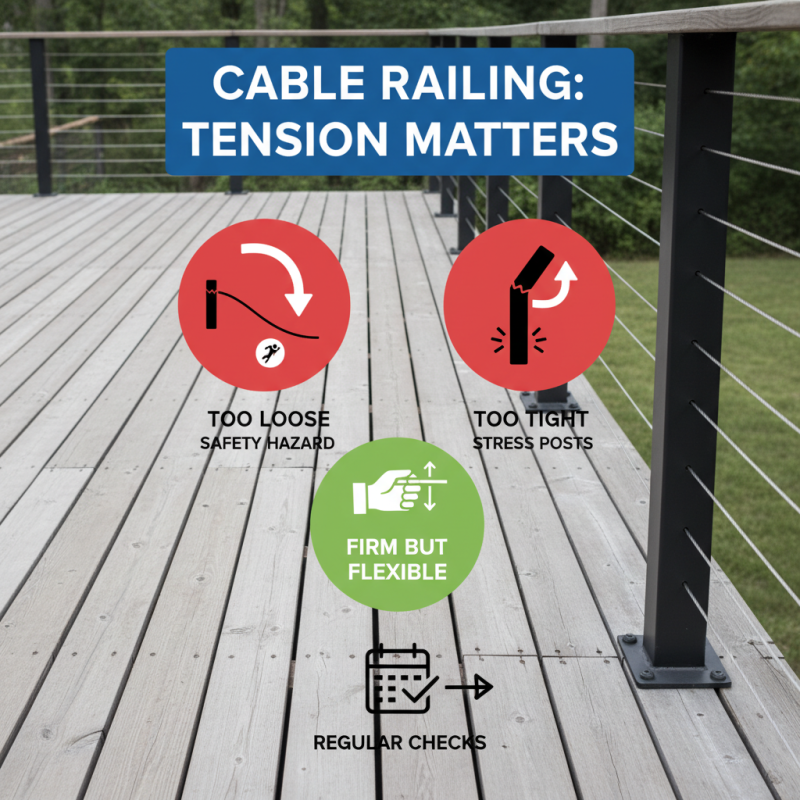
Tip: Always check compatibility between posts and cables. This ensures a stable structure. If the fit is too loose or too tight, safety can be compromised. Regular maintenance is essential. Inspect connections and fittings at least twice a year, especially after severe weather. It's easy to overlook these details, but they can make a significant difference in safety and longevity.
10 Essential Tips for Installing Cable Railing for Decks - Choosing the Right Materials for Cable Railing Systems
| Tip | Description | Material Options | Cost Range ($) |
|---|---|---|---|
| Select Quality Materials | Choose high-quality stainless steel for durability and corrosion resistance. | Stainless Steel, Aluminum | 50 - 150 |
| Consider Cable Thickness | Thicker cables provide more strength but may affect visual aesthetics. | 3/16" or 1/4" Cable | 10 - 30 |
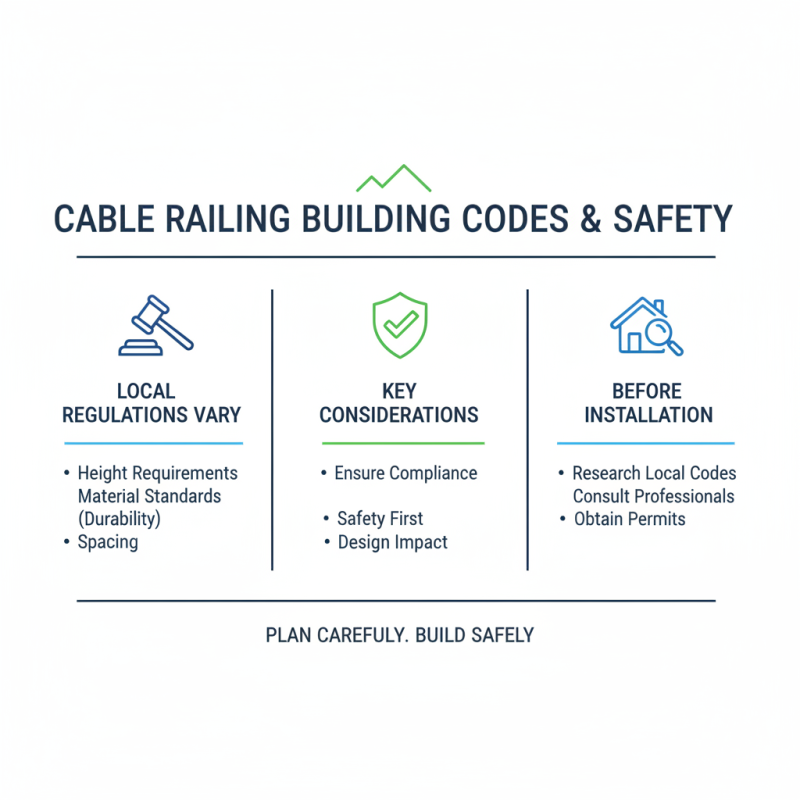
| Check Building Codes | Ensure compliance with local safety regulations regarding railings. | N/A | N/A |
| Evaluate Post Materials | Choose sturdy posts that match the cable railing system. | Wood, Metal | 20 - 100 |
| Plan for Installation | Make a clear layout plan to ensure accurate measurements. | N/A | N/A |
| Choose Appropriate Fasteners | Use corrosion-resistant fasteners to secure the railing properly. | Stainless Steel Screws, Anchors | 5 - 20 |
| Ensure Cable Tensioning | Properly tension cables to maintain safety and aesthetics. | Tensioning Kits, Turnbuckles | 15 - 50 |
| Regular Maintenance | Perform routine checks to prevent rust and ensure integrity. | N/A | N/A |
| Consider Aesthetic Designs | Choose styles that complement your deck and home design. | Varied Finishes (Satin, Polished) | Varies |
Related Posts
-

Top 10 Benefits of Cable Railing for Decks: Enhance Safety and Style
-
Exploring Cable Railing Innovations at the 138th Canton Fair 2025 in China
-
Why Metal Cable Railings are the Future of Modern Outdoor Design: A Comprehensive Guide
-
Top 10 Tips for Choosing the Best Interior Cable Railing Systems
-

Top 2025 Cable Railing Systems for Decks: Benefits and Installation Tips
-
What is a Cable Railing System for Decks and How to Choose the Best One